Verification (Recommended)
After completing the seller registration process, you must be verified before adding product. For security reasons, please put a valid ID or business permit. To access on my account, go to Store Dashboard > Settings > Verification in the upper right corner.
Reminder: It will take at least 2-3 business days to be verified as a seller, depending on the volume of requests, so please complete the other information to set up your store while you wait. Check your SPAM email for A-buy notifications.
Once verified, you will receive an email notification, and you can also check your notification icon on the Store Dashboard. This is how it appears:

Social Media (Optional)
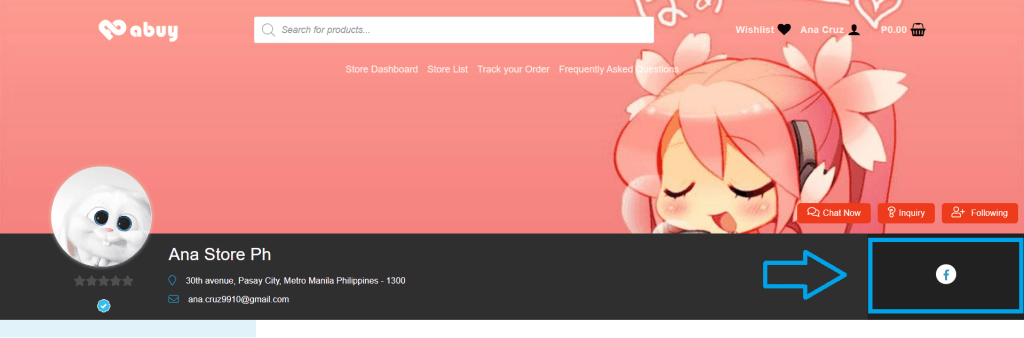
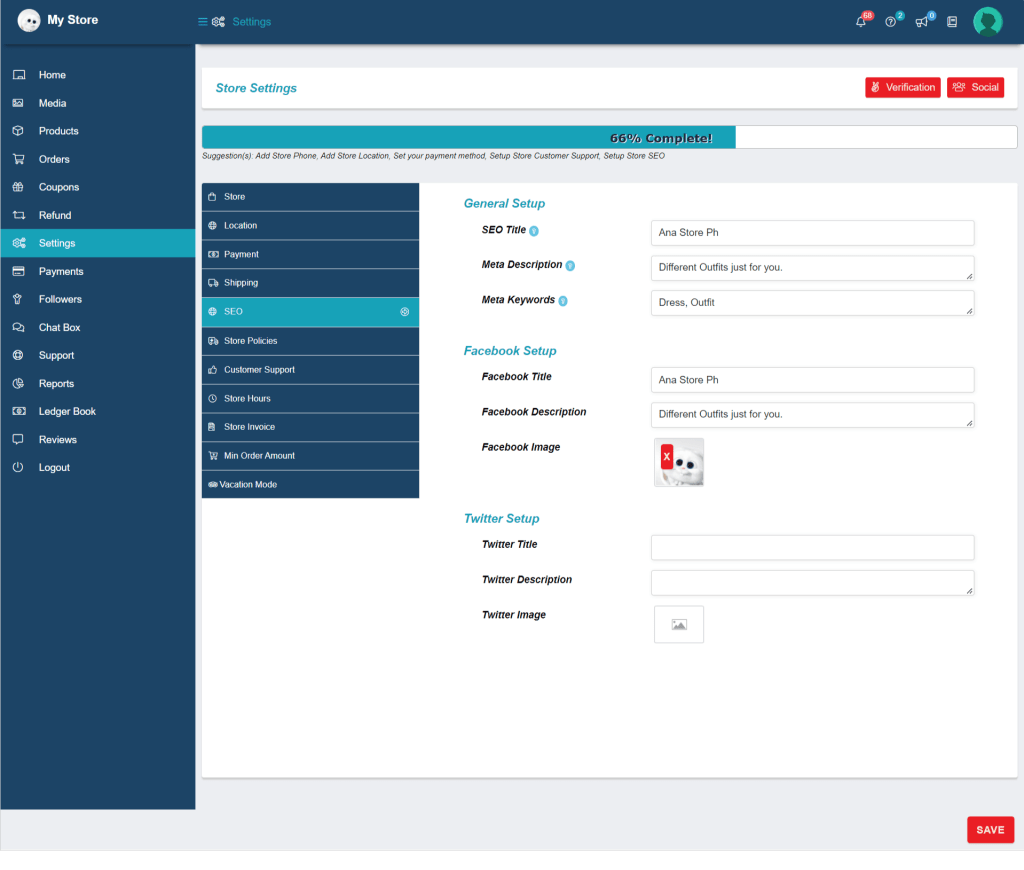
Let’s you connect all your social media on your store. To navigate on my account, go to Store Dashboard > Settings > Social > get the link of each social media you have then click save.
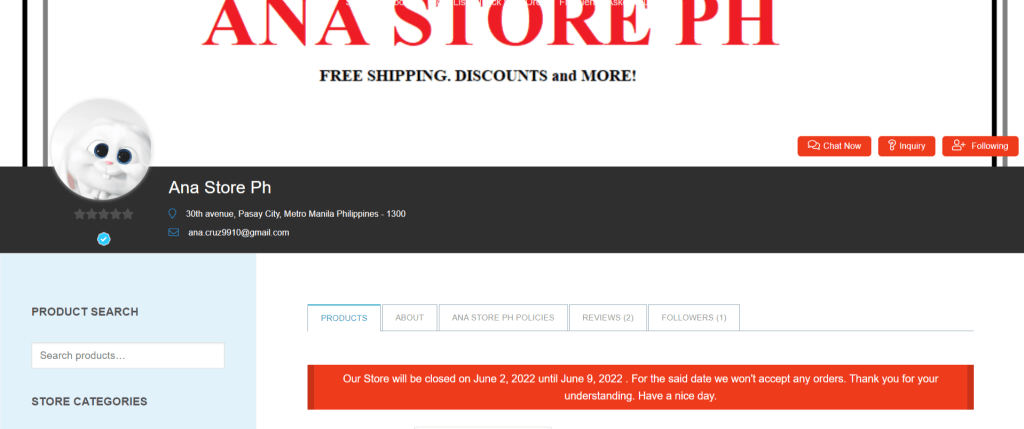
Important Notice: Transactions made outside of the A-buy website are not permitted and will result in penalties against your store.
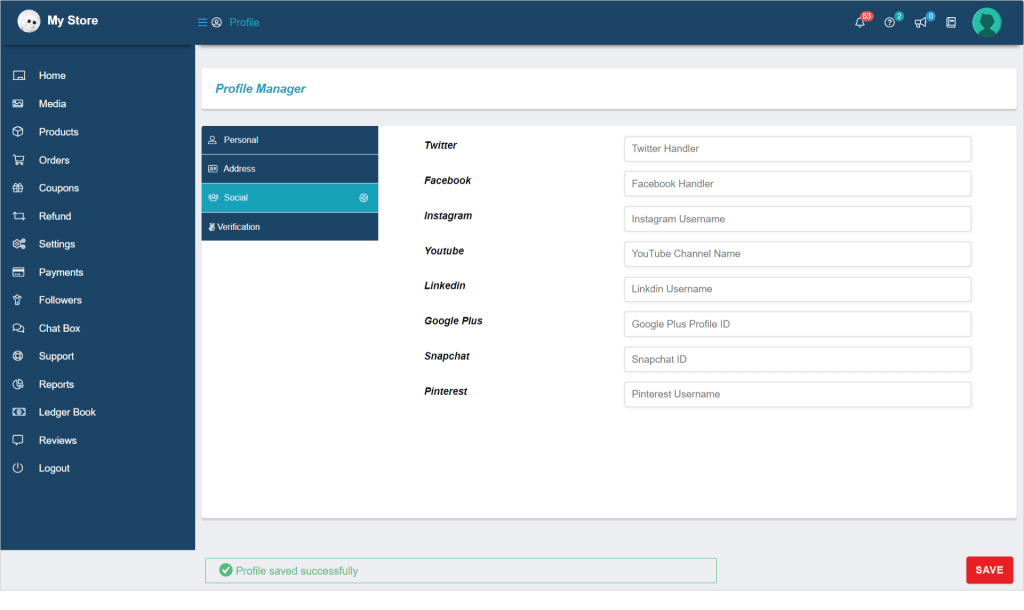
This is how it looks like:
Payment – Withdrawal Earnings (Recommended)
This is where you will enter your bank information in order to receive all of your A-buy earnings. To navigate on my account, go to Store Dashboard > Settings > Payment and then save.
Reminder: Please enter the correct bank information to avoid delays in your earnings.
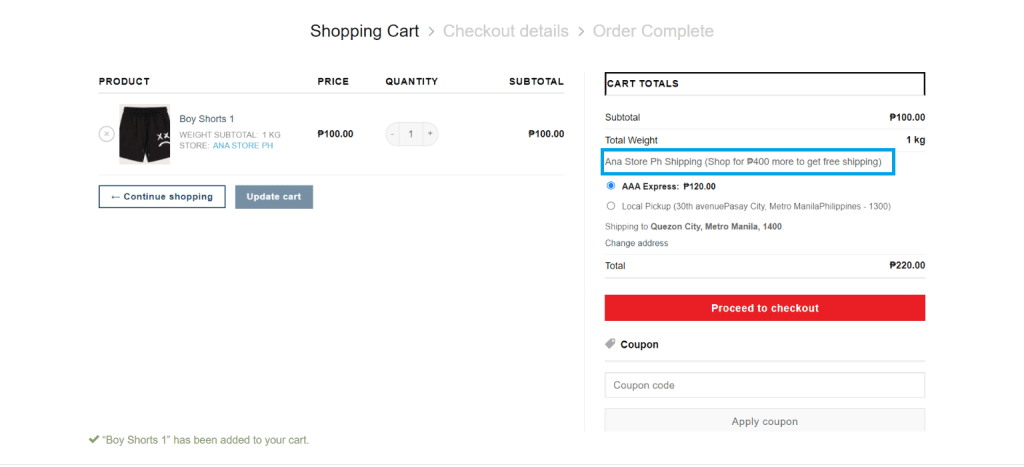
Shipping (Recommended)
This is to set up your preferred type of Shipping for your store. To navigate on my account, go to Store Dashboard > Settings > Shipping.
-
Shipping By Zone – best for Stores Locally. Please see the video tutorial
Flat Rate – lets you charge a fixed rate for shipping
Method Title: Enter a Title that displays to customers in checkout.
Note: To limit shipping weight base on the shipping method you can add on the method title:(Name of the Shipping company) up to “1kg”.
For example:
BCD Express Delivery up to “1kg”
Cost: Sellers can add additional costs per item to this field. This can be left blank to disable Flat Rate except where costs are added for Shipping Classes. Note that what you enter here may factor into the overall cost in the Shipping Classes section unless it’s left blank.
Following are the place-holders which are to be kept in mind while entering the cost:
[qty] – Number of products in the cart
[fee] – An additional fee. This fee has two optional arguments.
percent – A percentage based on total order cost.
min_fee – A minimum amount. Useful when using percentages.
max_fee – A maximum amount. Useful when using percentages.
Examples:
- 20 + (50 * [qty]) – A base shipping cost of ₱20 plus ₱30 for each item in the cart.
- 50 + [fee percent=”5″ min_fee=”20″] – A base shipping cost of ₱50 plus 5% of the order total, which is at least ₱20.
Tax Status – Define whether or not tax is applied to the shipping amount.
Shipping class cost: If you have shipping classes, the interface adds a few more fields as shown in the above pic. These costs can be optionally entered based on the shipping class set per product (This cost will be added with the shipping cost above).
Cost of shipping class “A1 Small”, “A2 Medium”, “A3 Large”- Enter the cost for a particular shipping class setup by A-buy.
No shipping class cost- Useful if you use the Per Class option. Otherwise, use the Cost field.
Calculation Type – Two options:
Per Order – Picks the most expensive option based on shipping costs in the cart.
Per Class – Charges shipping for each shipping class.
Once the above options are filled, save the above changes via clicking on “Save method settings” button.
Local Pick up – allow customers to pick up orders by themselves in your Physical Store.
Free shipping – lets you give free shipping for your customers.
- Shipping By Weight – best for Stores who use Weight Based Shipping. Please see the video tutorial.
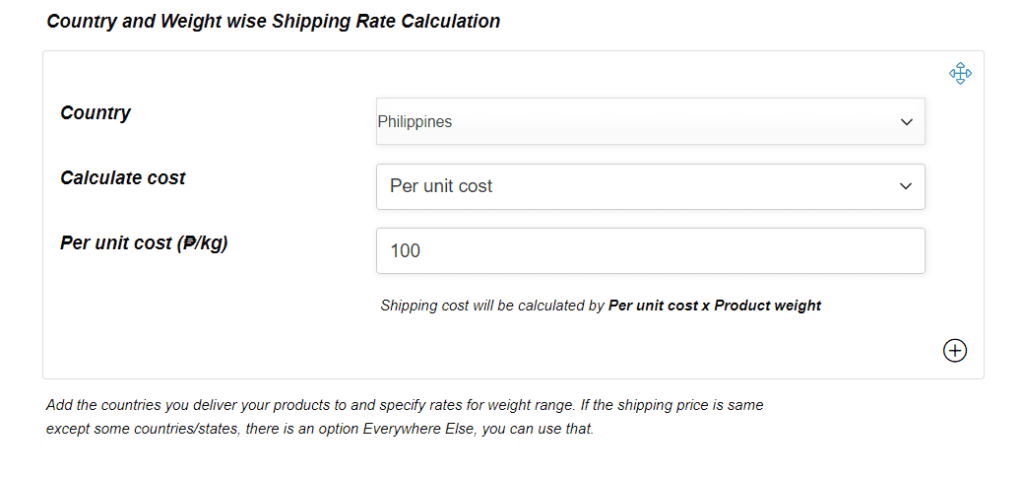
Country: User can enter the country from where he/she can allocate specific shipping rules but for now Philippines is the only county you can choose from.
Calculate Cost: Here user can set the terms on which shipping cost will be calculated. They can either set it “As per rules”, where other relative information should be provided. Or “Per unit cost”, where the user will be able to enter ₱/kg rate (per unit cost)
- Calculate cost based on rules:If the user chooses to set rules for the calculation, they will get the following options as shown.
Weight rule: One can set the weight rule from here by either selecting “weight up to” or weight more than” option.
Weight: The amount of weight can be entered here.
Cost: Here the user can add the additional cost which is to be paid by the customer once the weight decided is exceeded.
- Calculation based on per unit: Once per unit cost is selected, the user will be prompted to enter the cost which will be added per Kg.
Note: that the user can add more countries and set rules by clicking on the (+) icons.
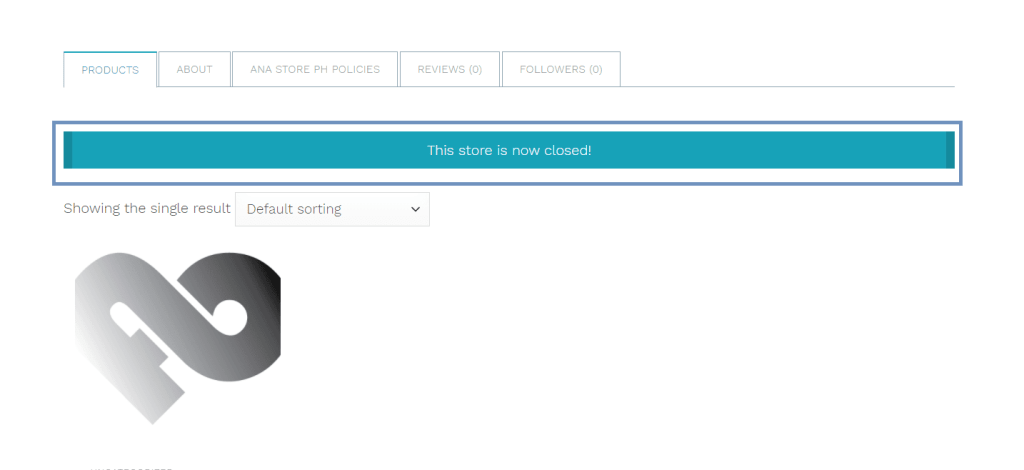
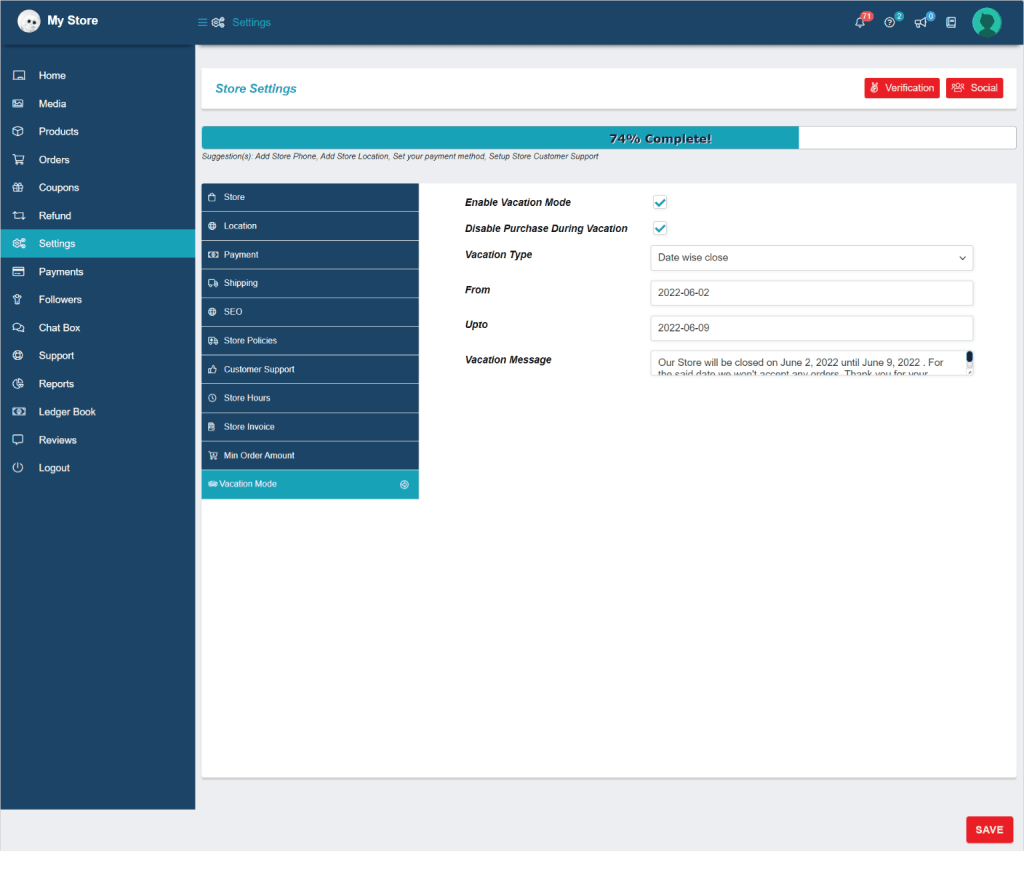
Store Hours (Optional)
If you don’t want to keep your shop open 24 hours a day, you can set your opening and closing store hours here. To navigate on my account, go to Store Dashboard > Settings > Store Hours then click Save.
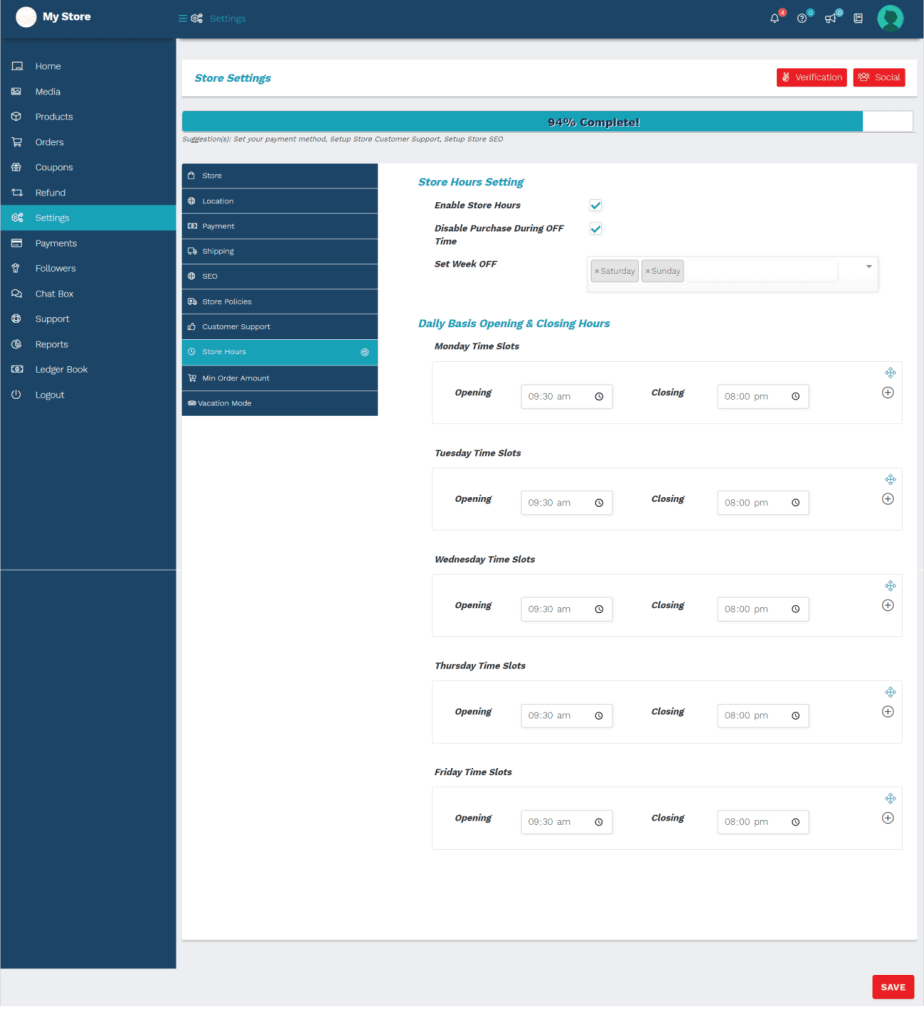
Also, if you DO NOT want to receive an order during your store closed hours just click the check box for “Disable Purchase During OFF Time”

This is how it looks like: